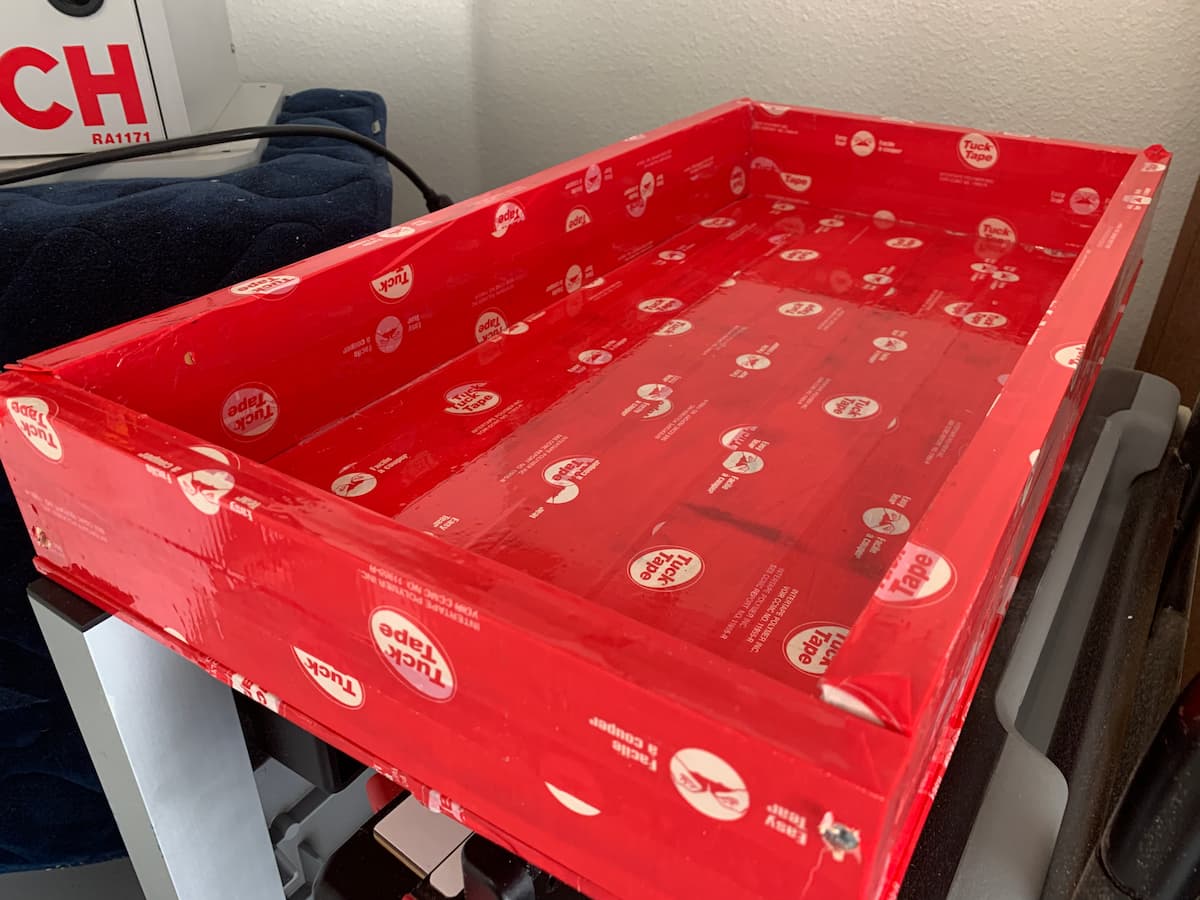
Making a custom mold for epoxy pours
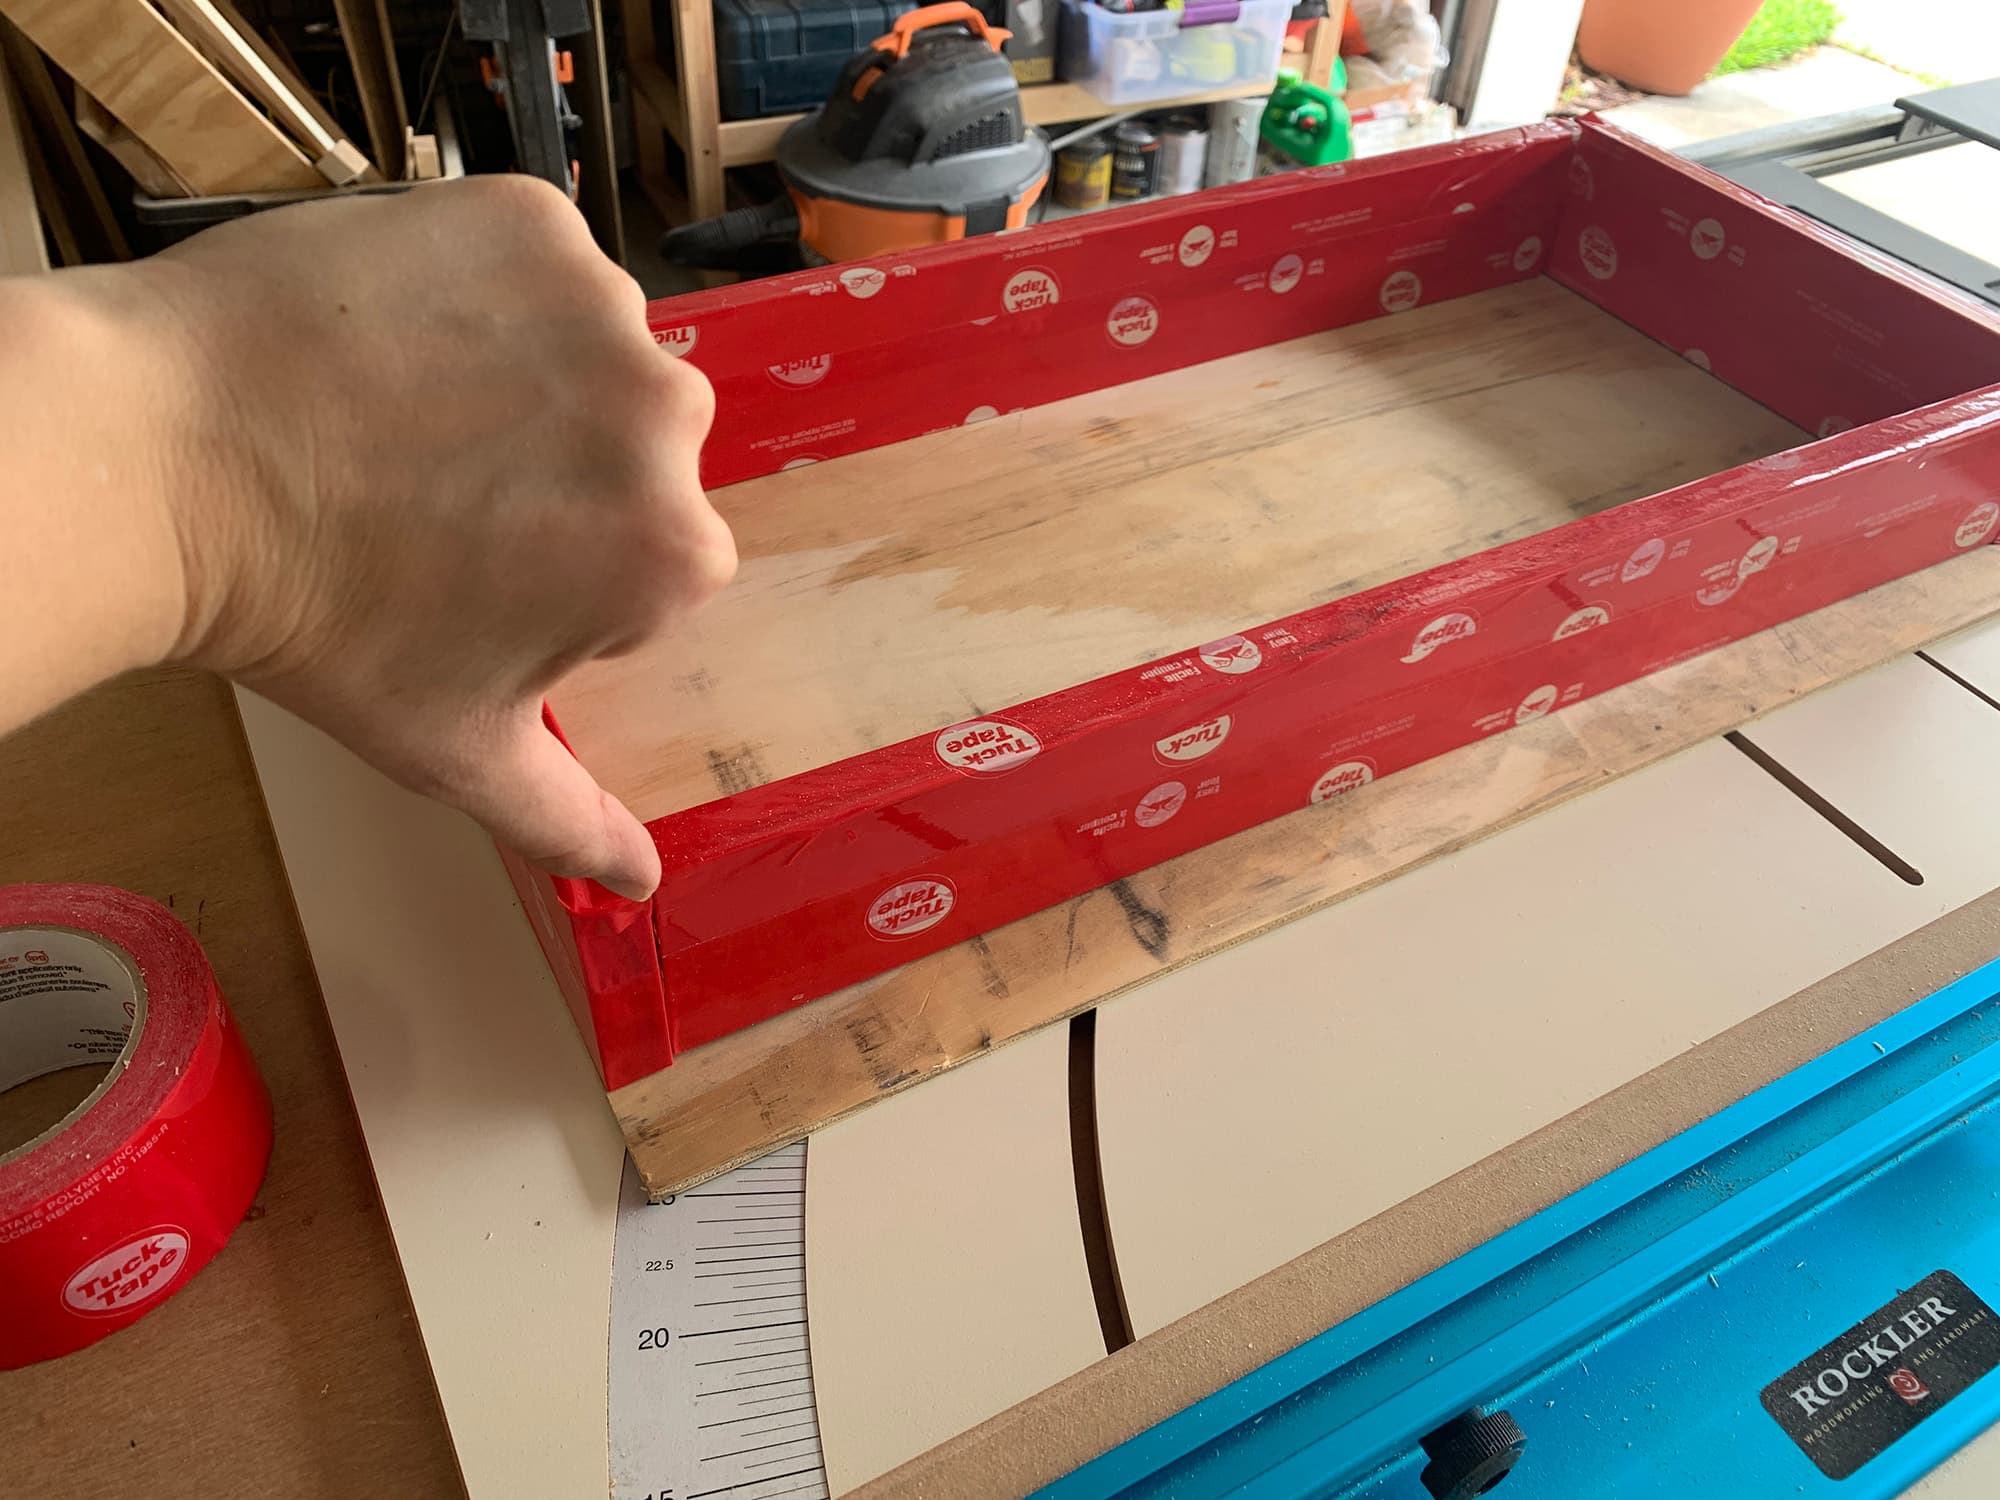
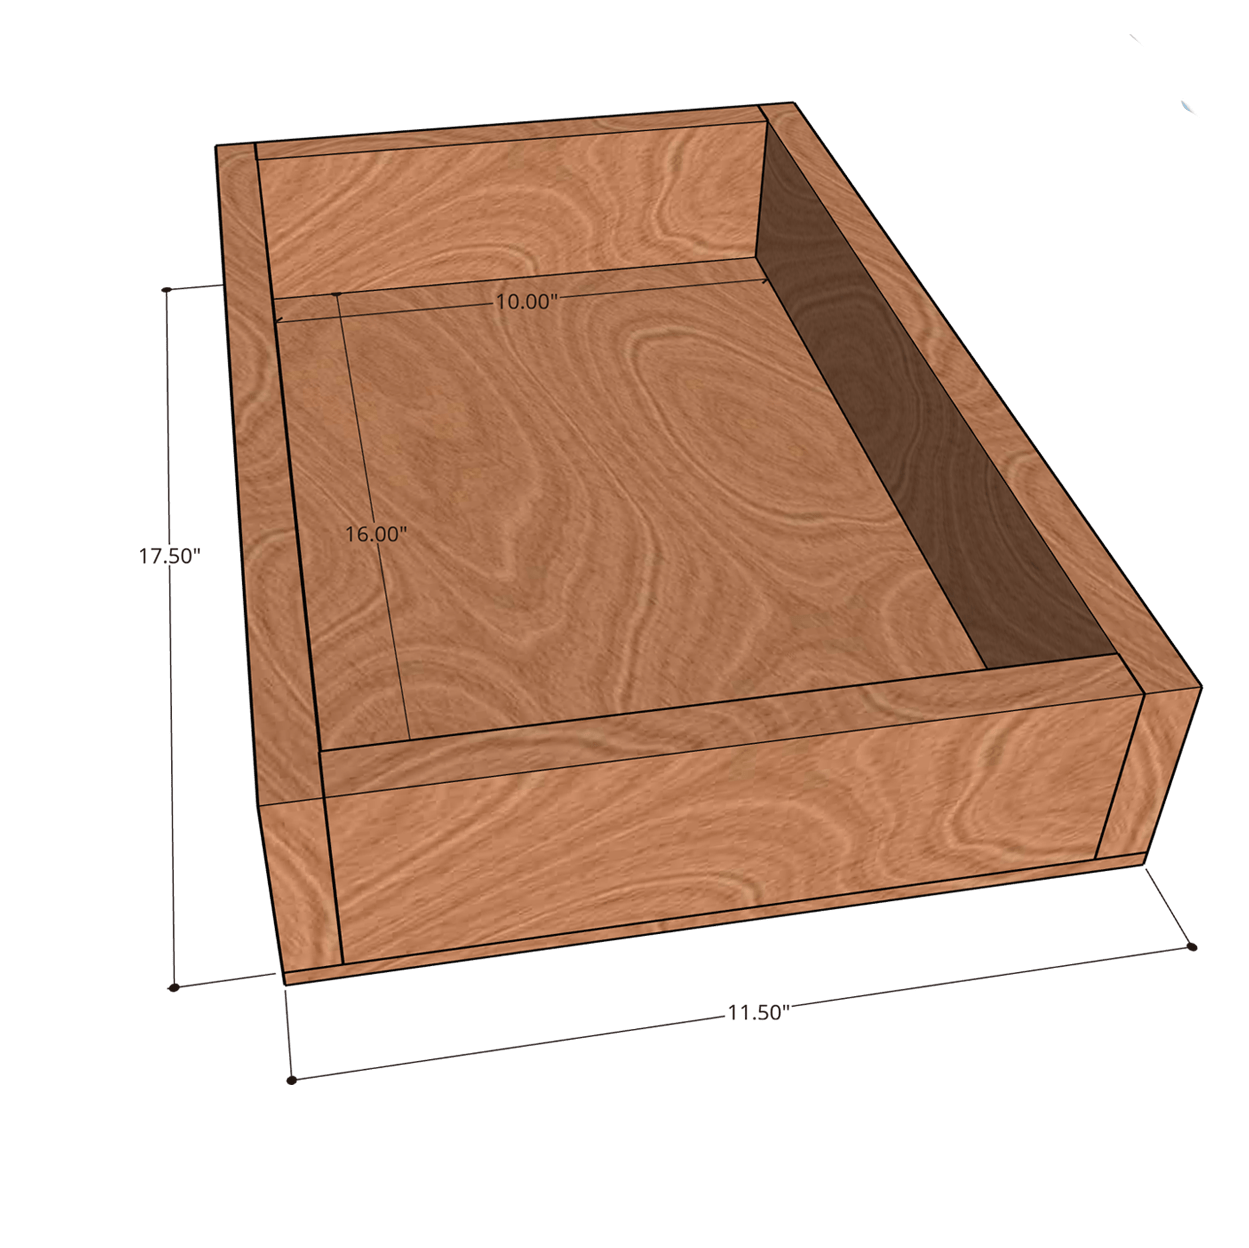
The featured image shows a major mistake in measuring. Always account for the thickness of the wood before cutting and getting ahead of yourself! Sketch it out and check your math.
For those of us who don’t do epoxy projects often enough to warrant spending hundreds on silicone molds, or those who need very specific and unusual sizes or shapes, making your own mold is super simple. I’ll walk through making a rectangle mold. Adjust the numbers to fit your needs.
What You'll Need
- Dimensional lumber (enough for the size piece you want)
- Sheathing Tape
- Wood Screws
- Silicone Sealant
- A drill & measuring tape
Cutting pieces for the mold
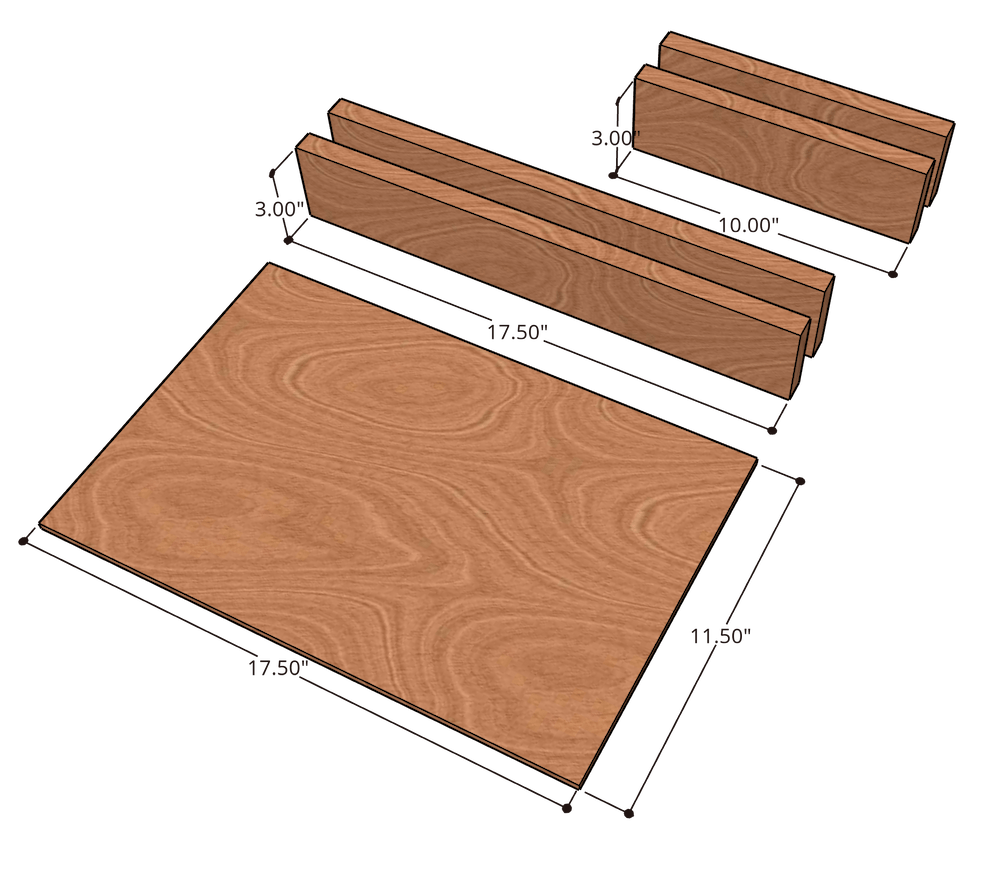
Make sure to measure and check your math. Trust me…you need to account for the thickness of the wood itself and mistakes WILL be made. Let’s just say…I mess this part up with almost every project, so I’ll sketch it out for you.
Example Cut List
If your final work piece will be 16”x10” and the wood you use in the sides of the mold is .75” thick, you’ll need:
Short Sides (2):
10” x {whatever height} x .75” thick wood
Long Sides (2):
17.5” x {whatever height} x .75” thick wood
Bottom Piece (1):
17.5” x 11.5” x .25” thick wood.
Make the template “epoxy proof”
Use wood screws to connect the template with the bottom piece covering the entire mold. If your wood was .75” you can use 1” wood screws for the sides and .5” wood screws to attach the bottom.
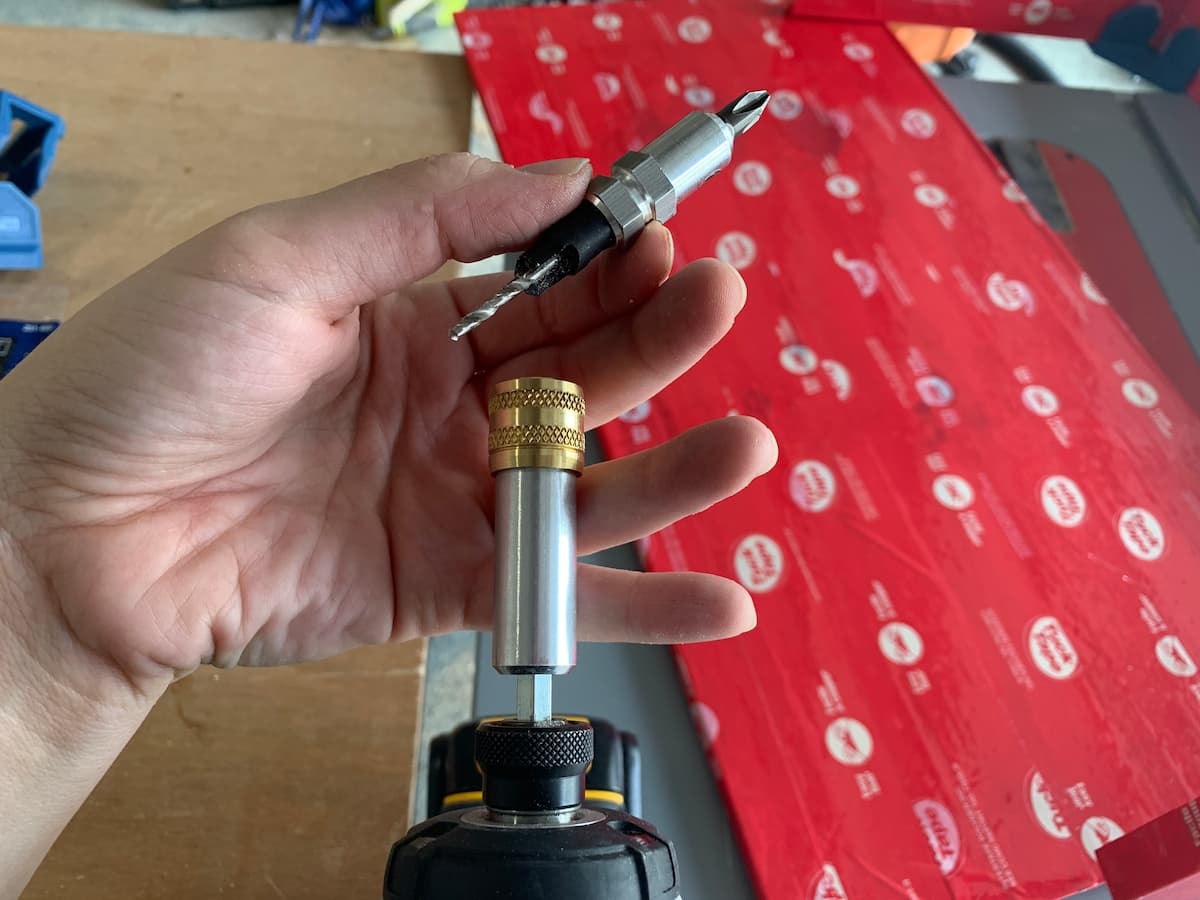
Pro tip: pre-drill the holes with a countersink bit so your screws don’t stick out. The Montana ones have a countersink drill bit and corresponding drill bit on the other side. It made my life so much easier!
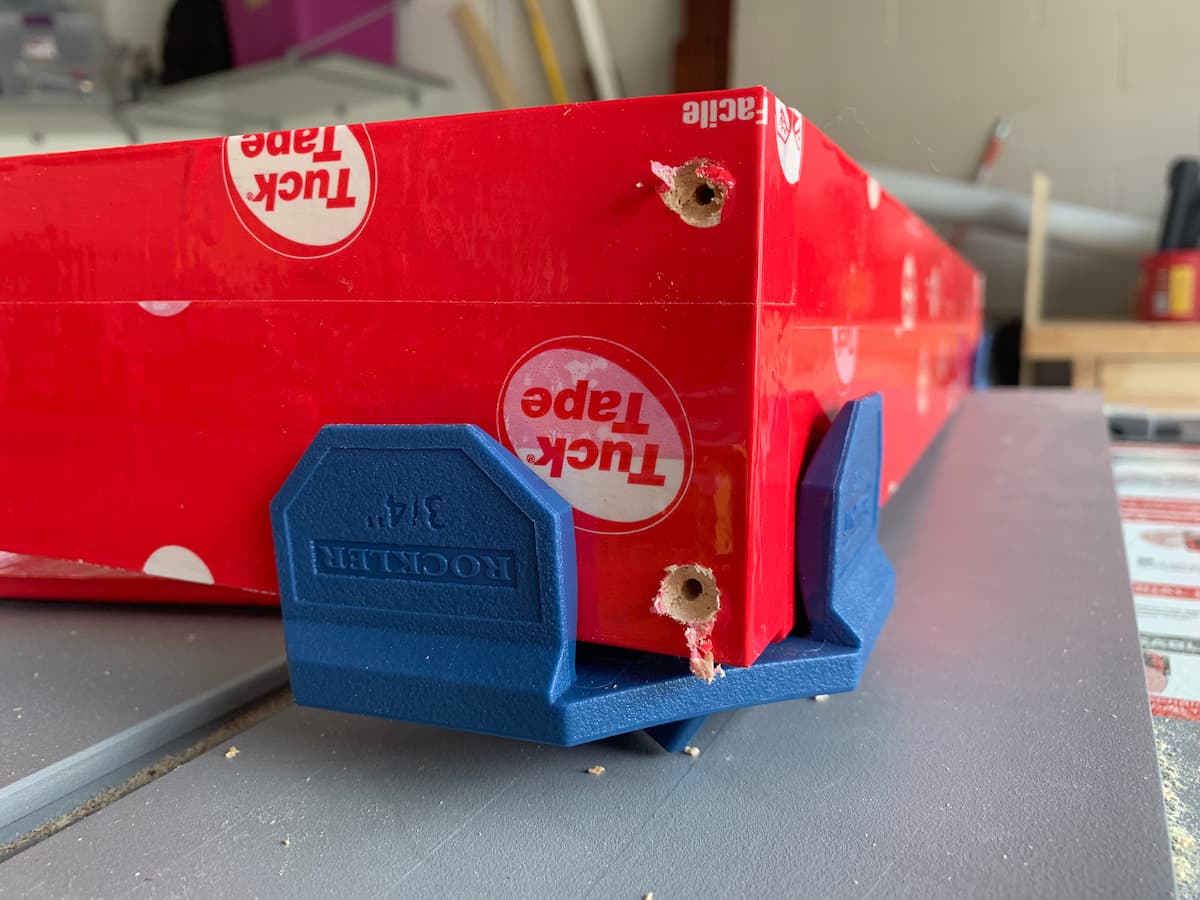
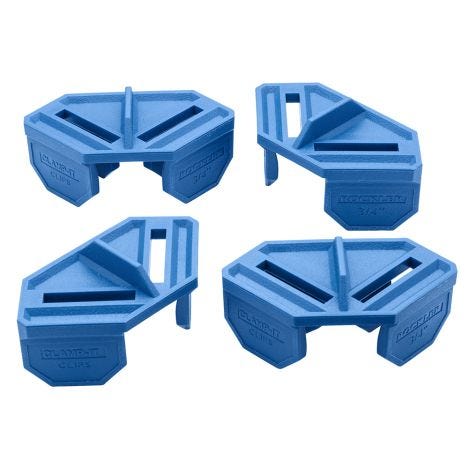
Make sure all the pieces are screwed tightly together. I had a few gaps and ended up using Rockler Clamp-it Clips to help me re-screw them.
Fill in any seams and big gaps (even if you can’t see any) with silicone sealant. Before it dries, try to clean it up/smooth it all out with something like a plastic card.
Final Result!
