My First Woodworking Project: Mickey Ear Holder
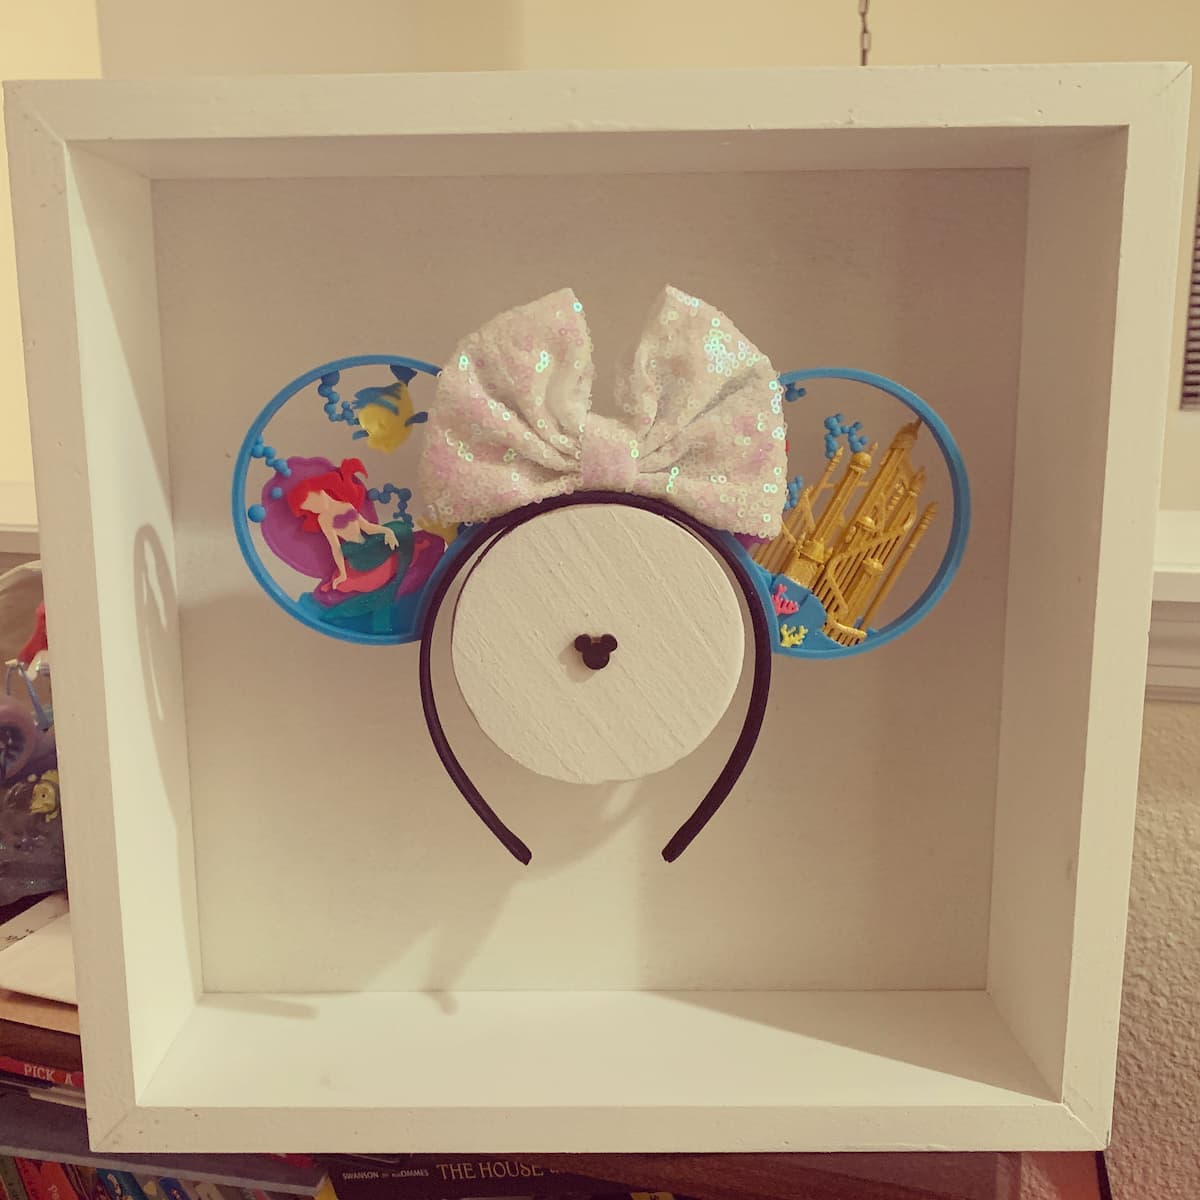
The featured image is a Mickey ear holder shadow box.
Disney fans, rejoice! If you have wondered how to display your favorite Mickey Ears, I’m going to show you a simple and fun project that really go me started in woodworking.
My First Woodworking Project: Mickey Ear Holder
What You'll Need
- 3/4″ lumber (3″ or so wide)
- Wood Glue
- Saw to cut 45 degree bevels (miter saw, handheld Miter Box, or table saw)
- Brad Nailer (optional)
- Backer board (or 1/4″ plywood)
- 3/4″ dowel rod
- 4-5″ wood circle (either buy online or cut yourself)
- Small plastic or wooden Mickey cutouts (optional)
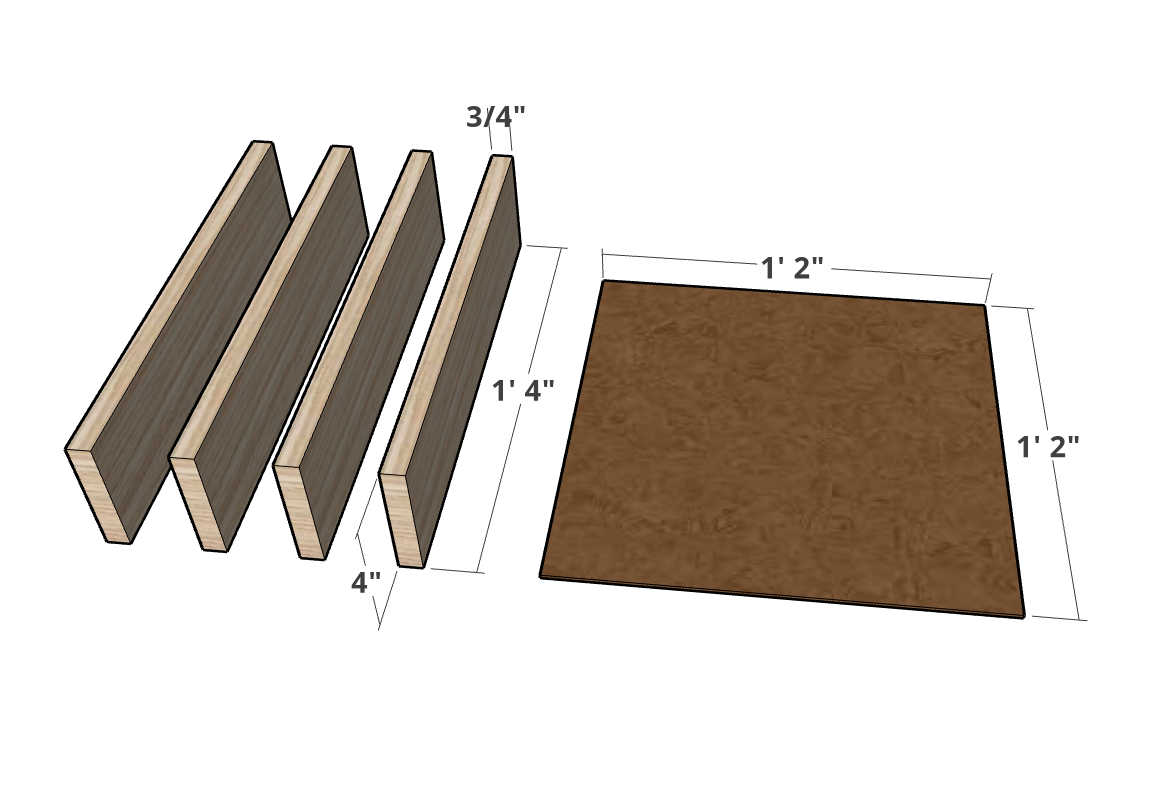
1.Cut 4 equal length 3/4″ boards for the sides & the square for the back.
Cut List
If you follow the actual sizes I used, you will end up with a 14″x 14″ shadow box frame.
All Sides (4):
16″ long x 4″ wide x 3/4” thick wood.
The extra length gives you some wiggle room when you make bevel cuts on BOTH ends of each piece.
Bottom Piece (1):
14″ x 14″ x 1/4” thick backer board or wood.
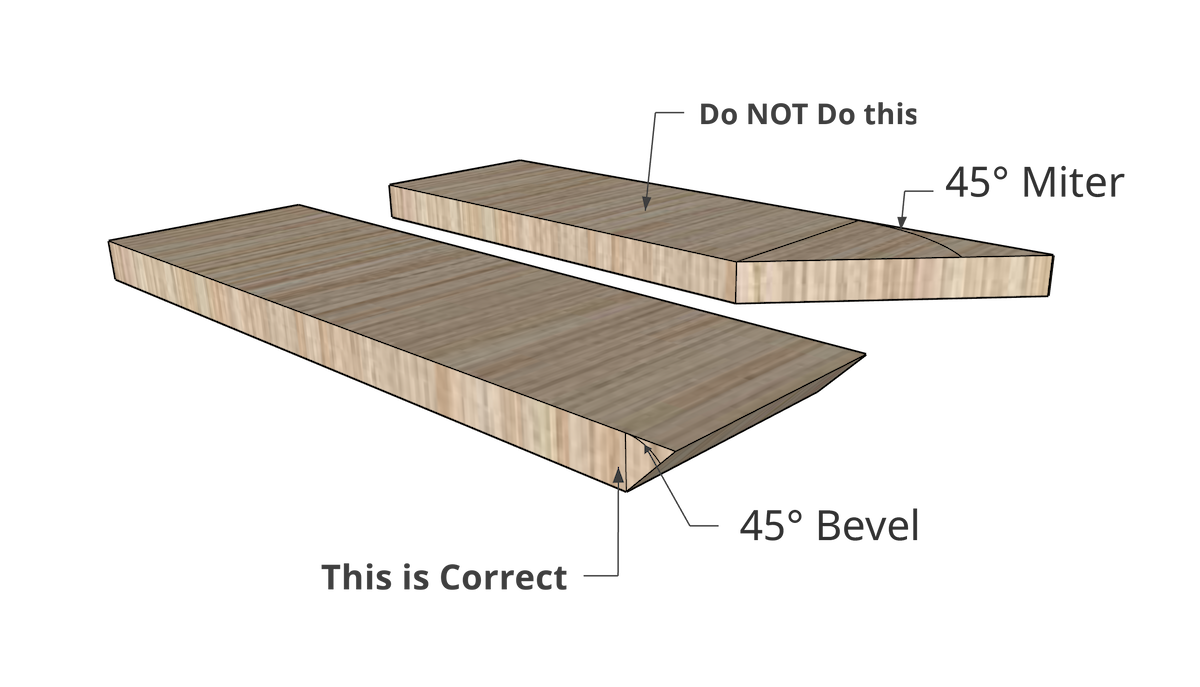
*Almost Flub up: This was my first project and I nearly cut a 45 degree cut from the face of the board instead of the edge. Above is an example of the difference between doing a miter cut (on the face of a board) and a bevel (on the edge/thickness)
2. Cut 45º bevels on both ends of the 4 sides
I used a miter saw, as it was the best saw I had at the time. A table saw can be more accurate, especially if you use an angle gauge.
If you only have a hand saw, you can used a miter box.
3. Join together the 4 sides
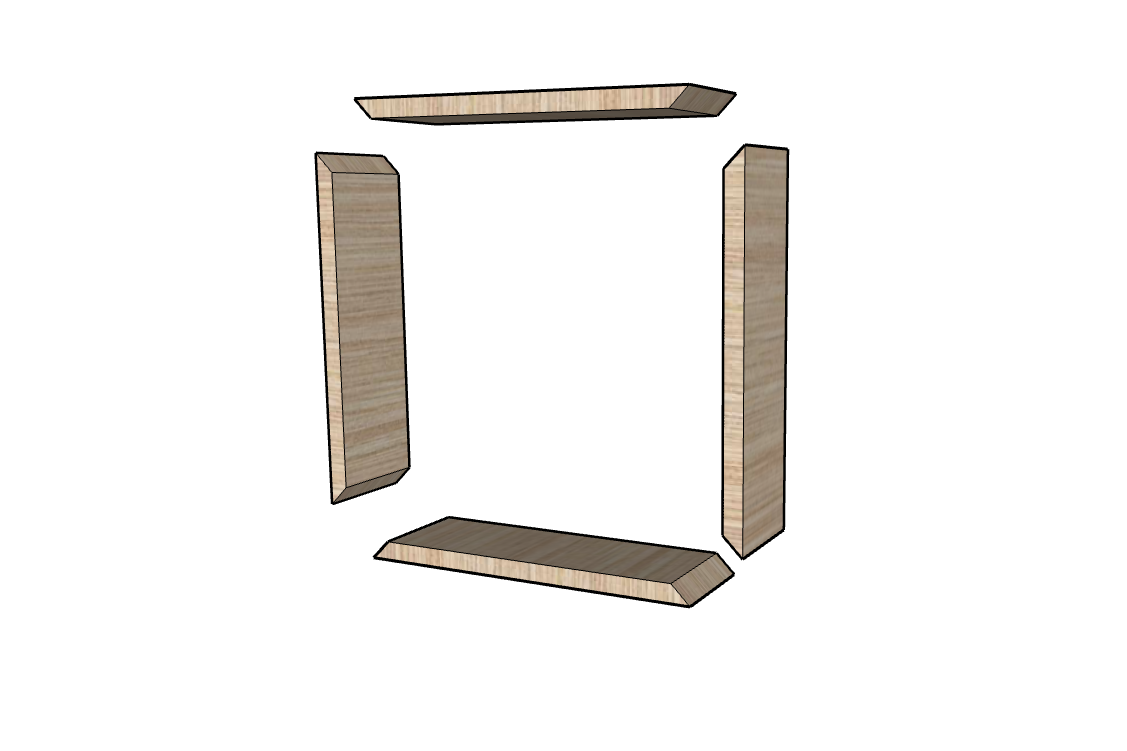
There are many ways to join the edges. In this case I applied wood glue to all the edges and clamped the entire thing together with an angle strap clamp. Not only does it keep everything tight when the glue dries, but it applies pressure to keep the shape. Additionally, you can use a brad nailer to reinforce the edges. There are numerous techniques out there to reinforce the edges, but we will be adding a back to this thing and it is not weight bearing, so even just the glue should hold well.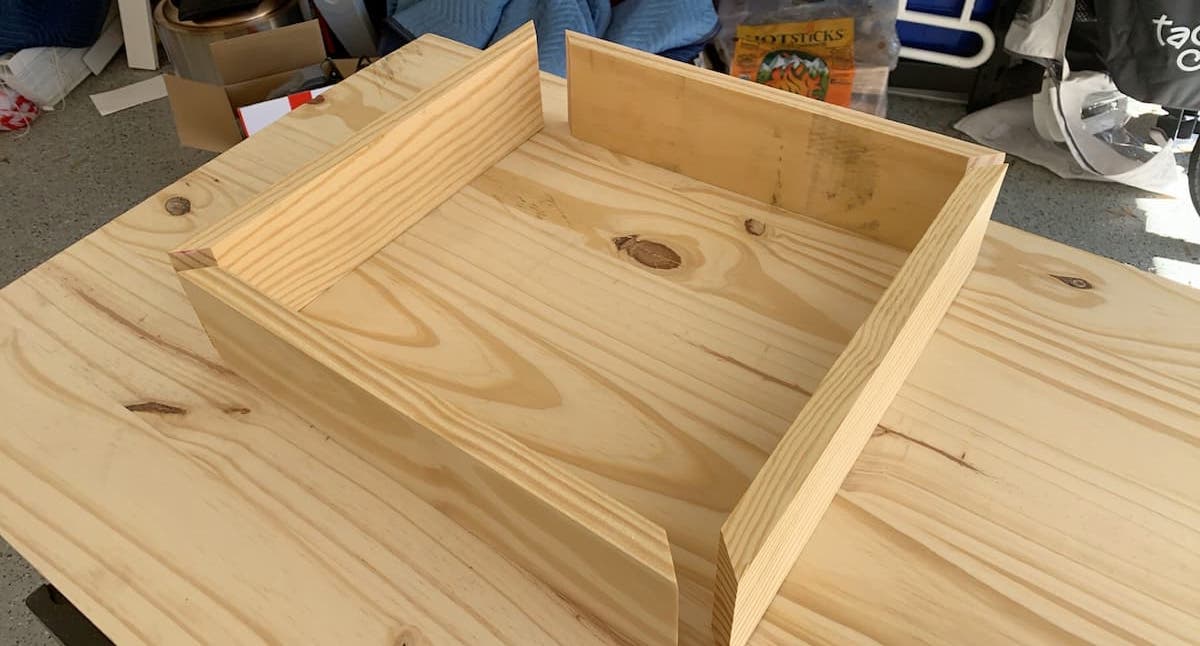
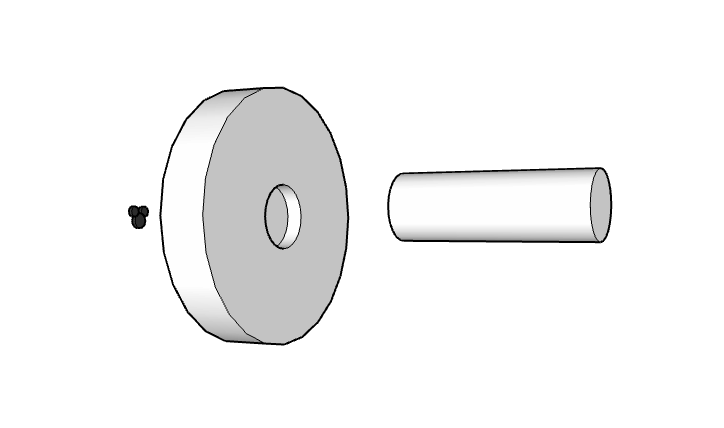
4. Make Mickey Ear Mount
For this step I used a 4.5″ saw drill bit to cut a circle out of some scrap wood. If you don’t want to do that you can use a variety of methods to make that circle (jig saw, band saw, etc).
For those of you who are not using power tools you can buy pre-cut circle plaques that are about 4.5″ – 5″ diameter and 1/2″ thick.
I had used a 3/4″ forstner bit to drill a small circle into the larger wood circle. This was the perfect fit for a 3/4″ dowel rod. You could also simply use a screw on the other side of the wood.
Use wood glue (or hot glue) to attach a miniature wood mickey
Once done, attach the dowel rod to the backer board in the center.
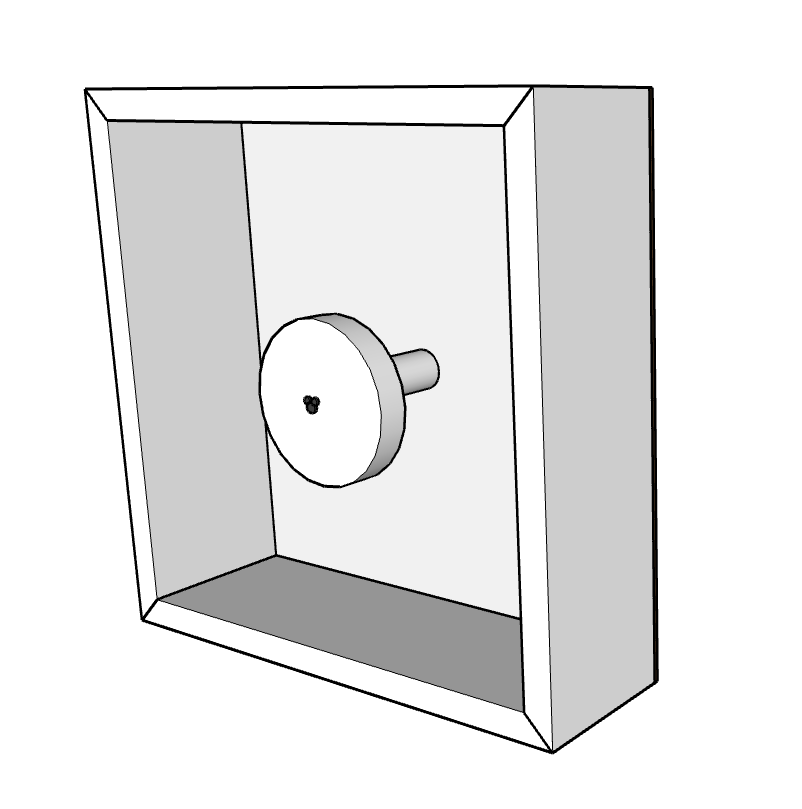
5. Attach back to the frame
For the back, I used backer board and applied it with a brad nailer.
If you are using hand tools you can simply use small 1/2″ nails and a hammer.
6. Sand, Paint, Hang
I used a random orbital sander with 120 and 220 sandpaper. Hand sanding works as well. White spray paint the whole thing and wait for it to dry.
Add a sawtooth picture hook, and you’re done!
