LED Epoxy River End Table

The featured image shows an epoxy river table with an LED enclosure below.
If you want to make a relatively easy end table that really makes a statement, an epoxy river table is the way to go. I pushed things further and built an enclosure underneath to house LED lights!
Pouring the Epoxy for the River Table
What You'll Need
- Live edge slab
- Mold for pouring epoxy (See my article here on how to make your own!)
- Penetrating epoxy to seal live edges (I used MAS Penetrating epoxy)
- Deep Pour Epoxy (I used Ecopoxy)
- Color Pigments, optional (I used Black Diamond Color pigment)
- Large Plastic Mixing Cup(s) and stiring sticks
- Rubber Gloves
- Postal scale (for weighing epoxy)
- Random orbital sander
- Abranet sanding disks (or cheap sand paper if you only have that option)
- Oil Finish (I used Watco Danish Oil Finish)
- Level (to ensure epoxy is poured on a level surface)
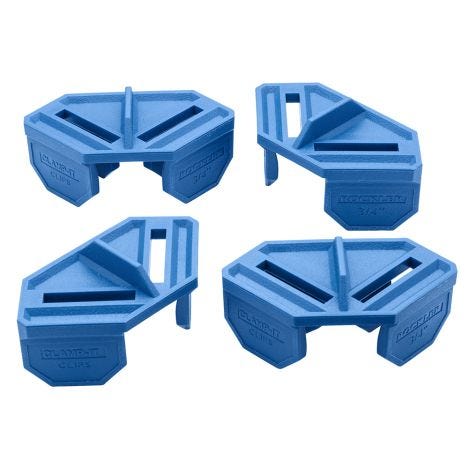
- 4 Clamps (F preferred, more clamps for larger tables)
- Hot Glue Gun, optional
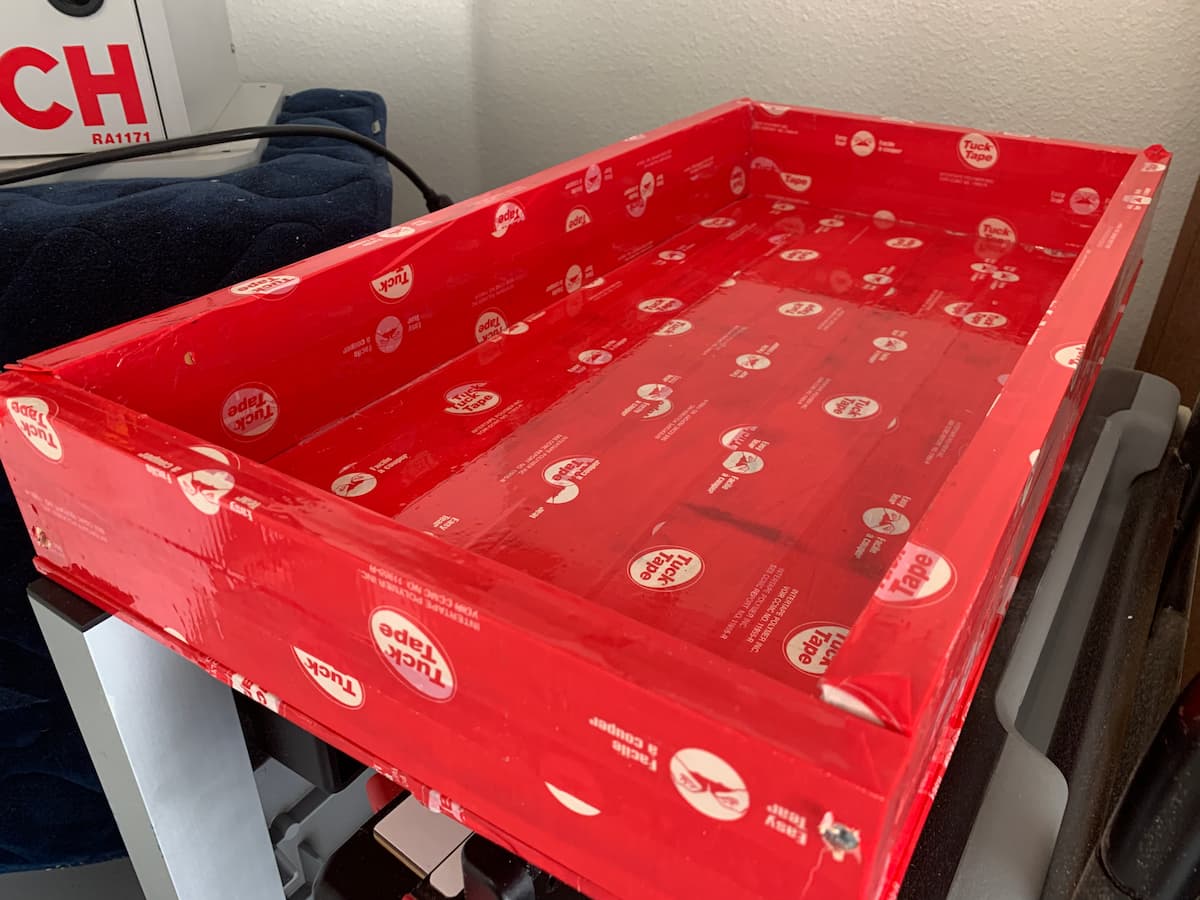
1.Create or prepare a mold
Put mold together (either purchase a premade silicone one or be cheap like me and make with scrap wood. If you make your own you will need to cover all the pieces entirely in sheathing tape. Use silicon sealant in any of the cracks on the edges so nothing gets out.
Follow this article to see the step by step instructions to make a custom epoxy pour mold!
2. Prepare the live edge slab
If there is still bark on the live edge slab, remove it. If you don’t it can fall off or apart and cause issues in the resin.
Cut the slab to size, coat the edges that will be touching the deep pour epoxy with a penetrating epoxy (I used MAS penetrating Epoxy). Place the pieces in the mold. It should be SNUG. Put some hot glue on the top along the live edge. This way when you pour your epoxy it wont spill over.


3. Measure and mix epoxy.
FOLLOW DIRECTIONS FROM EPOXY BOTTLE. They have calculators for how much to mix of part A and part B. The amount of epoxy you will need should be an approximate volume of the area you are filling. Add a small amount of color pigment if you want, little at a time. It’s VERY concentrated.

4. Prepare wood for pouring the epoxy
Use F clamps to make sure the wood is tightly pressed against the bottom of the mold. For a small river table like mine 2 clamps per side should do.*
Make sure you level the surface you are using to pour on. I didnt…and had to repour additional epoxy a few days later and you can tell.

*Flub up: I forgot to clamp AND level. I ended up needing to re-mix and pour epoxy onto one portion and had to sand a LOT of extra resin that seeped under the wood. Above is a pic of how you SHOULD do it.
5. Wait for the resin to harden. Prepare for sanding.
Let sit for a 5 days or so (a week if you want to be really safe). Take the river table out of the mold. If you plan to route the edges or adjust the size, do it now. Remove any hot glue if you used it, and any dried silicone from your mold.
6. Sanding…lots of sanding…
I used a random orbital sander and abranet sanding disks. Do a pass with 100 or so on all sides and edges of your board. use a clean rag to wipe off any sawdust.
If you have one, blow the sanding disk with an air compressor after every pass and use a clean rag to swipe off dust from the board.
You don’t want the epoxy to get messed up because you sand too much for too long and it gets hot.
Slowly go up 120, 150, 180, 220, etc until you get to 400 or so. Slow and steady. Seriously. Its worth it to take your time.
7. Apply a finish!
I used Watco Danish Walnut finish

Pro tip: At this point you essentially have a charcuterie board! Above is an example of another “mini river table” I did after an awesome class at Rockler by Justin White. This is smaller than what I ended up making for my table.
Build an Enclosure for the LEDs
What You'll Need
- Wood for the enclosure
- Foil Tape
- LED strip with adhesive
- Wood Glue
- Wood Screws
- Paint, optional
- Drill with forstner bit (or anything to drill a hole for the LED power chord to go out.
This is essentially a shadow box
Since we are making a table at this point, the LEDS will sit on the inside walls of a short enclosure below the table top.
I used 3/4 pine for the sides and 1/4 plywood for the bottom. This enclosure does not need to be anything fancy, I painted mine black and attached legs to it.
8. Create the enclosure
Based on the size of your final table top, your enclosure will have to be slightly narrower and shorter. The height should be about .5 inch, just enough to hold the LED strip.
The pieces should use miter joints (45 degree cut) and should. have a .25 rabbet for the bottom to attach to. I used a router for the rabbeting and a miter saw to cut the 45 degree cuts.
Example Cut List
If your epoxy river table top is 2’x 1′ and the wood you use in the sides of the enclosure is 1” thick, leaving .5″ on all sides, you’ll need:
Short Sides (2):
11″ x .5″ tall x 1” thick wood
Long Sides (2):
1′ 11″ x .5″ tall x 1” thick wood
Bottom Piece (1):
1′ 9.5″ x 9″ x .25” thick wood.


Drill a SMALL hole (just enough for the LED power source to come through. (Figure out where you will start and end the LED strip first)
9. Cover inside with aluminum tape, stick LED strips on the inside edges
That’s it. Cover the bottom and sides (if taller than the LED strips) with reflective foil. Tape the LED strips along the edges.
If you want to reduce the glare of the lights on the areas directly below the resin, you could cover that area or consider putting a frosted film under the entire length of the resin.

10. Paint the top and edges
Yeah, yeah…I should have done this before putting the foil tape and lights inside. So I covered everything with plastic sheeting when spray painting a black matte paint.

Flub up: Take your time, don’t press down hard. Also, drilling before painting and before putting foil would have helped.
11. Attach Enclosure to Table Top
Using .75″ wood screws, attach the enclosure to the river table top. I had used wood glue and clamped it down but then realized I might need to replace the LEDs one day.

Final Result!